Synchronizing an already made transcript
In this tutorial we're gonna see how to use the new text pipe feature to synchronize an already made transcript.
1) Creating the project
The first thing to do is of course to create a new project. To get more details about this process, follow the first part of the "Making a transcript of your favourite TV series with VisualSubSync" tutorial.
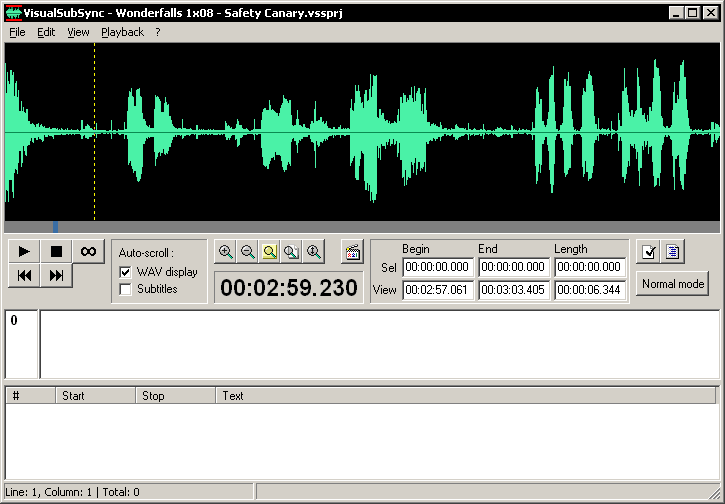
So here we are, our new project is created :
2) Loading the transcript
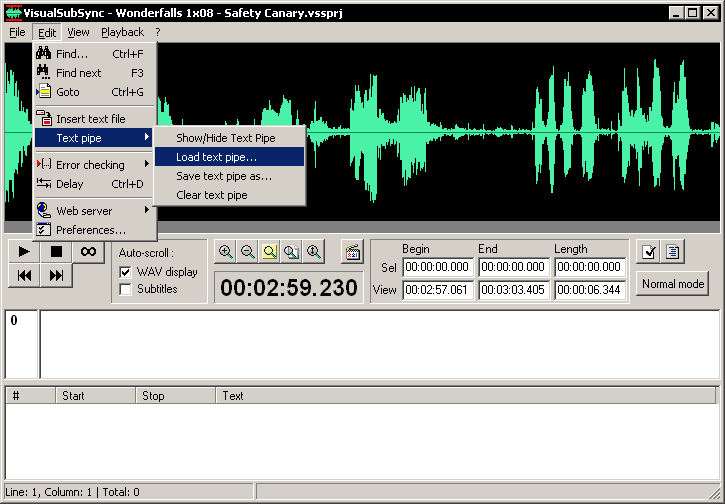
It's now time to load our transcript. For that we use the Edit>Text pipe>Load text pipe… menu.
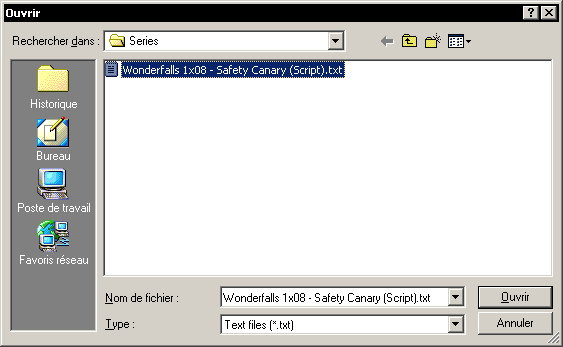
You can load raw text file or rtf files. Here we choose a raw text file :
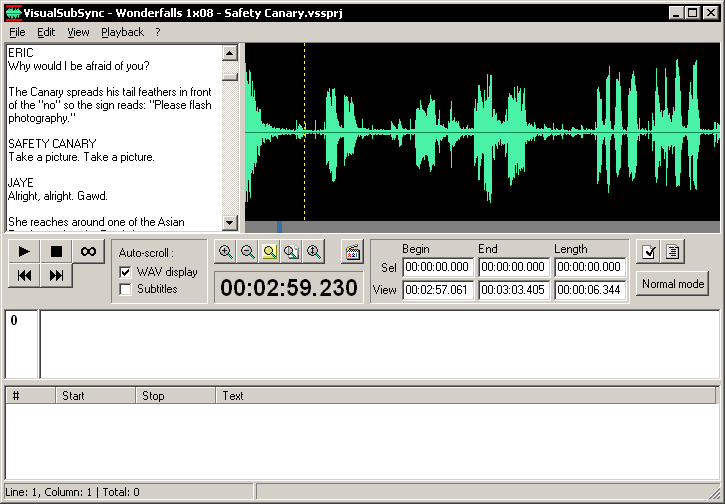
Ok, the text pipe is loaded, we are now ready for the synchronization :
3) The synchronization
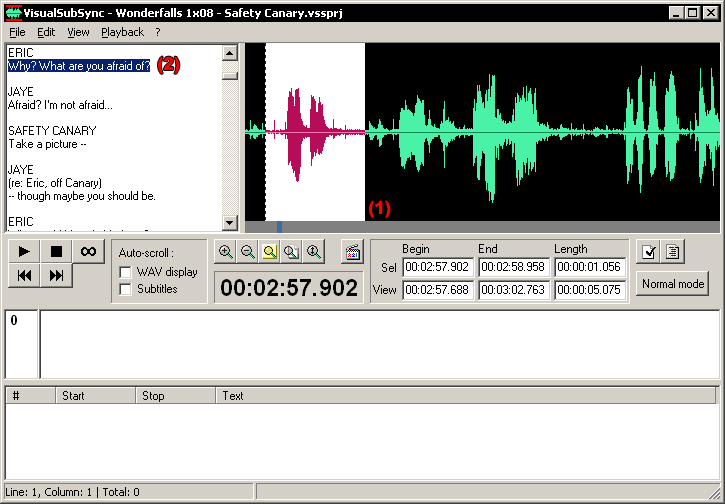
First we select the subtitle in the WAV display part. (1)
Then we select the matching text in the text pipe. (2)
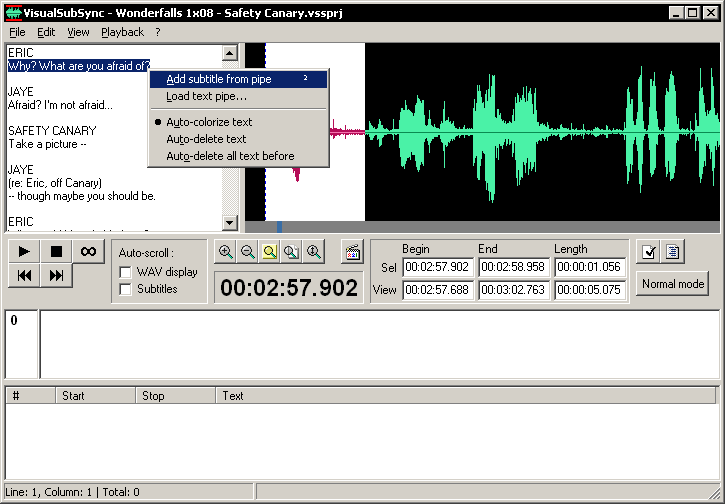
Finally we right click in the text pipe and choose Add text from pipe (it's recommended to add a shortcut and use it for maximum efficiency) :
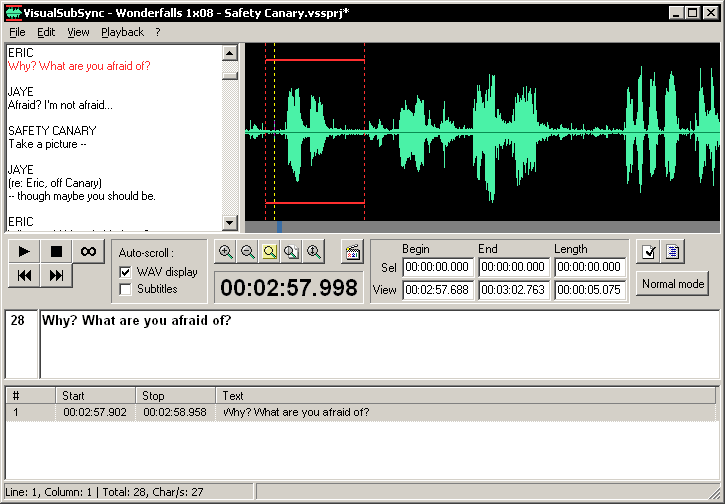
As you see the subtitle has been added, and we see it with the same color in both the WAV display and the text pipe.
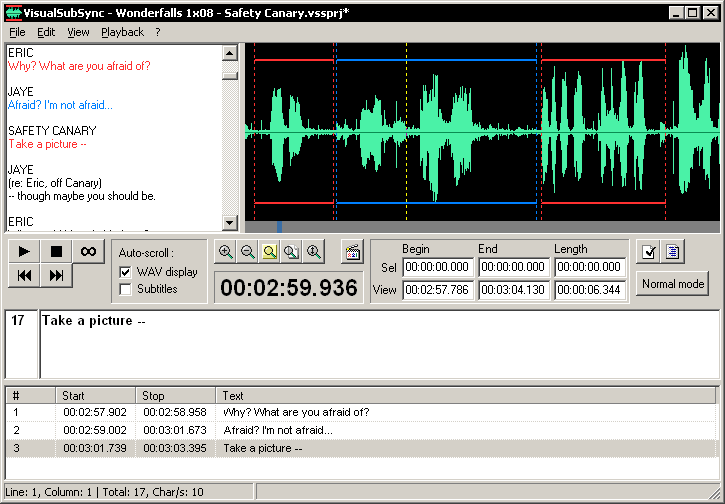
And here is what we have we some more subtitles :
When you add a subtitle from the text pipe you have different auto-something options :
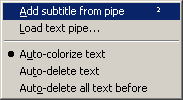
- Auto-colorize text : the text is colorized with the same color as in the WAV display.
- Auto-delete text : the text is deleted from the text pipe.
- Auto-delete all text before : the text and all the text above is deleted from the text pipe. The last option can be very usefull to work quickly as this way the text is automatically scrolled.
Something else important to notice is that VisualSubSync works on a copy of the transcript saved at the same place as the project. The script is saved under the name projectname.vssscript